How to Encapsulate a Crawl Space (DIY Steps & Costs)
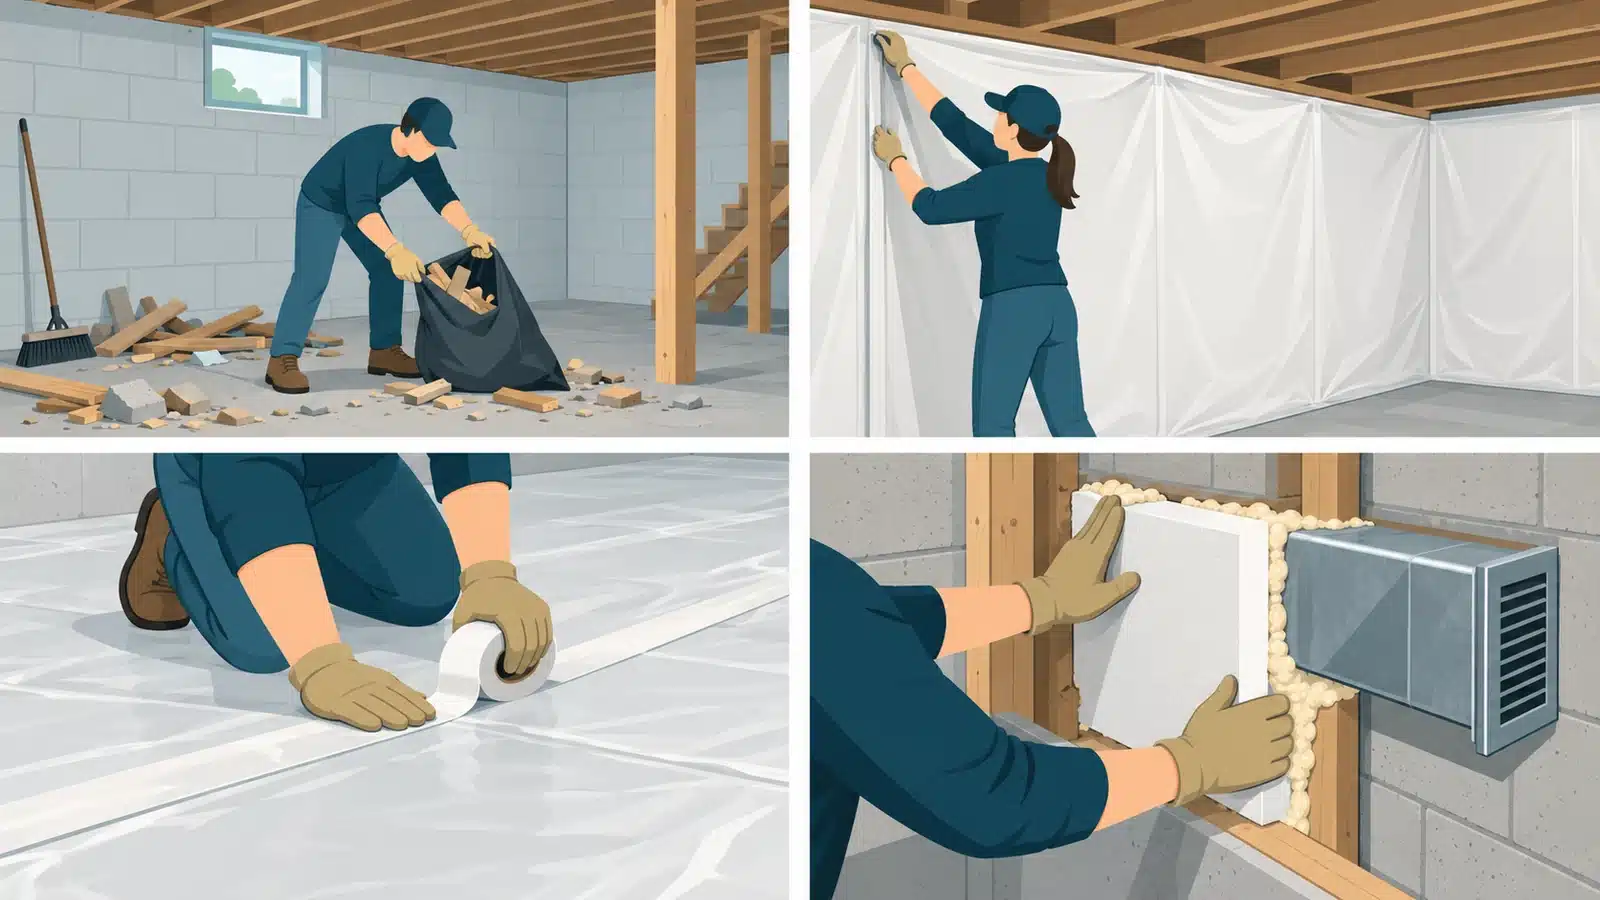
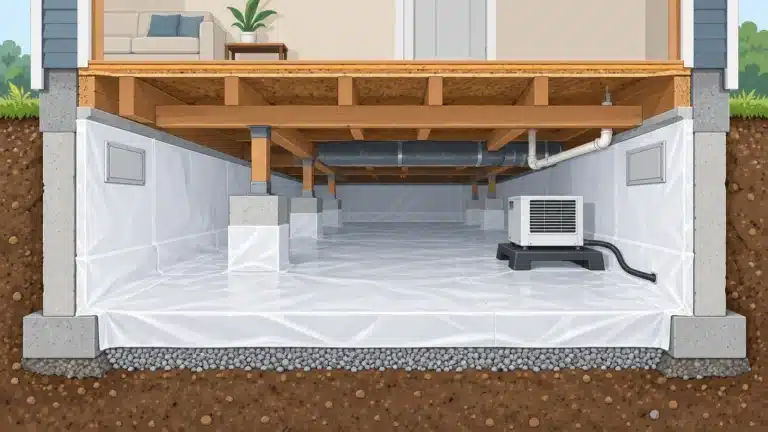
Quick answer: To encapsulate a crawl space, fix any water problem first. Then clean out debris and mold, line the walls and floor with heavy polyethylene (overlapped, taped and sealed to the walls), seal the vents, rim joist and access door, and add a way to keep the air dry. Code accepts a dehumidifier, an exhaust fan, or conditioned air for that last step. A careful homeowner can do a dry, roomy crawl space. Standing water, mold, low clearance, or gas appliances in the space are reasons to call a pro.
In this guide
Before you start: can you DIY this?
Encapsulation turns the crawl space from part of the outdoors into part of the house. Building Science Corporation’s Joseph Lstiburek puts it simply: a crawl space should be either fully inside or fully outside, “not in between.” Once you seal it, you are committed to keeping it dry.
Check these before buying materials:
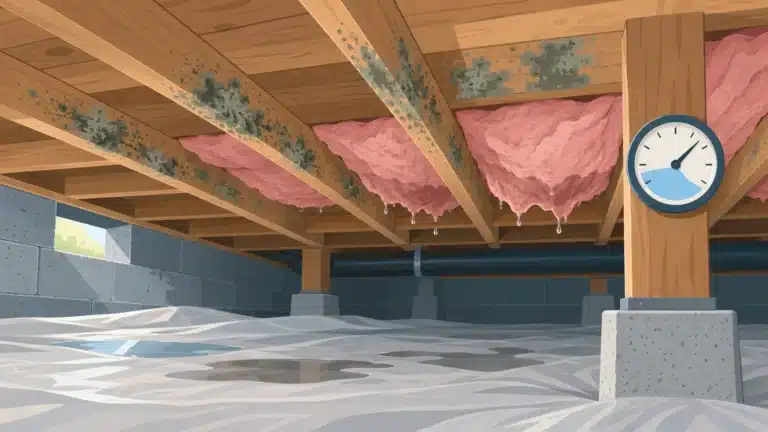
- Water: Is there standing water, a wet line on the walls, or water after storms? That has to be solved first. See water in crawl space.
- Combustion appliances: If a gas or oil furnace or water heater draws air from the crawl space, sealing the vents can cause backdrafting. Energy Vanguard says to switch to sealed-combustion or electric equipment first. That is a job for a licensed pro.
- Termites and local rules: Some areas require an inspection strip of bare wall. Check with your building department and pest control company.
- Radon: If your area has radon, plan for a radon vent under the liner. The Building America Solution Center recommends installing one under the vapor barrier.
- Access and clearance: Very low clearance makes every step slower and harder to do well.
Tools and materials
| Item | Purpose | Notes |
|---|---|---|
| Polyethylene liner (6–20 mil) | Floor and wall vapor barrier | 6 mil is the DOE/code minimum. 10–20 mil reinforced liner resists tearing. See our vapor barrier thickness guide. |
| Poly seam tape | Sealing overlaps and patches | Use tape made for polyethylene, not duct tape |
| Sealant or mastic, mechanical fasteners | Attaching liner to walls and piers | DOE calls for mastic or acoustical sealant at edges |
| Rigid foam board, can foam or closed-cell spray foam | Wall/rim joist insulation and vent sealing | Foam left exposed must meet fire code |
| Dehumidifier with condensate drain or pump | Drying the air | Size per manufacturer; drain to a pump or sump |
| Hygrometer | Checking humidity | Inexpensive and essential for monitoring |
| Rake, shovel, contractor bags, wet/dry vac | Cleaning and prep | Remove debris and sharp objects |
| Utility knife, tape measure, hammer drill, headlamp, knee pads | Cutting, fastening and working | A crawler board or sled helps |
| Respirator (N-95 or better), gloves, goggles, coveralls | Protection | Respirator must fit properly |
How to encapsulate a crawl space, step by step
1. Inspect and fix water first
Look for puddles, damp soil, efflorescence on walls, wet wood and foundation cracks. Energy Vanguard notes the source is usually bad drainage outside. Start with gutters, downspouts and grading, then a perimeter drain or sump pump if needed. If a drain is needed, see French drain cost.
2. Clean out debris
Remove stored items, old torn plastic, wood scraps, rocks and anything sharp. DOE’s installer job aid calls for clearing debris so the liner can cover 100% of the ground or as close as reasonably possible. Rake the soil smooth.
3. Deal with mold and pests
EPA says most people can clean mold themselves when the area is less than about 10 square feet. Beyond that, or with significant water damage, bring in a professional. Have any termite or rodent problem treated before you cover things up. See crawl space mold.
4. Line the walls
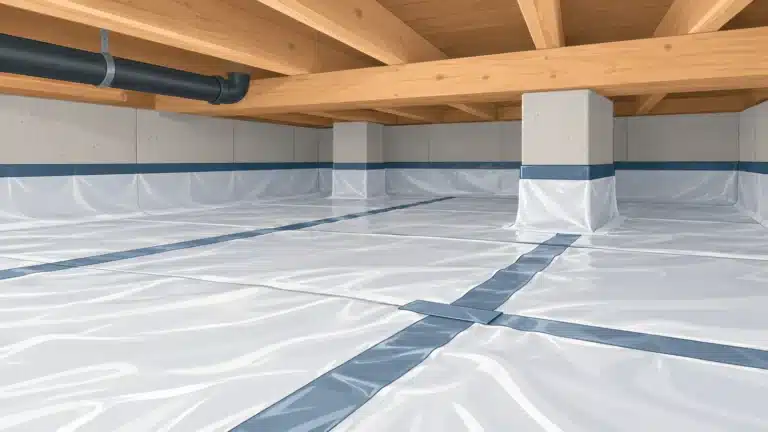
Run liner up the foundation walls and fasten it mechanically. Code requires at least 6 inches up the wall for unvented crawl spaces (IRC R408.3 as adopted in South Carolina). Building science guides go much higher. The Building America Solution Center says to lap up the walls to within 4 inches of the top, and Energy Vanguard starts about 3 inches below the top. Leave the termite inspection strip your area requires. DOE specifies a 3-inch gap where termite pressure exists. Seal the top edge to the wall.
5. Cover the floor and seal the seams
Lay floor sheets so they lap over the bottom of the wall pieces (DOE has the wall retarder go under the ground barrier). Overlap seams at least 6 inches per code. DOE’s weatherization spec and the Building America Solution Center recommend 12 inches. Tape every seam. Wrap piers and posts at least 6 inches up and seal them.
6. Seal vents, rim joist and the access door
Block foundation vents with rigid foam cut to fit, sealed at the edges with spray foam, as Energy Vanguard describes. Air-seal and insulate the rim joist. DOE’s wall insulation job aid calls for foam-based or vinyl-faced batt insulation fitted tightly and sealed at all edges, with gaps over ¼ inch first backed with a pest-proof material. Make the access door airtight and insulated.
7. Insulate the walls (where required)
Unvented crawl spaces need insulated perimeter walls in most climate zones. Climate zones 1 and 2 don’t require it, according to the Building America Solution Center. Rigid polyiso or XPS foam is preferred, and exposed foam must meet fire requirements. Check your local energy code for the required R-value.
8. Add a drying method
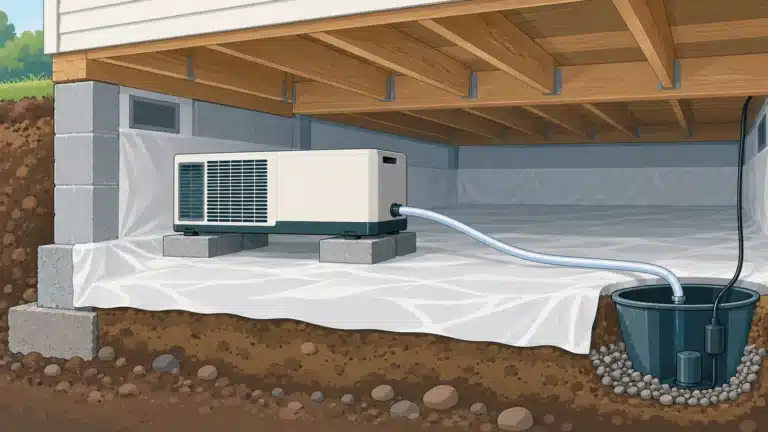
Code requires one of these: a continuously running exhaust fan at 1 cfm per 50 square feet, a conditioned air supply at the same rate, an approved plenum, or “dehumidification sized in accordance with the manufacturer’s specifications” (IRC R408.3 text). Energy Vanguard favors a dedicated dehumidifier and targets below 50% relative humidity. EPA’s indoor guidance is below 60%, ideally 30–50%. Route condensate to a pump or sump. More detail: crawl space dehumidifier.
9. Inspect and monitor
Walk the space for gaps, loose tape and unsealed penetrations. Get a permit and final inspection if your jurisdiction requires one. Then check the hygrometer regularly, especially in the first summer, and look over the liner, dehumidifier and drain line periodically.
How much does DIY encapsulation cost?
| Material | Price | Source (date) |
|---|---|---|
| 20-mil liner | $337 per 12×75 ft roll (900 sq ft), about $0.37/sq ft | Retail listing (checked Oct 28, 2026) |
| 6-mil reinforced poly | $183.46 per 20×100 ft roll (2,000 sq ft), about $0.09/sq ft | Home Depot listing (checked Oct 28, 2026) |
| Seam tape | $18–$50 per roll | This Old House (Mar 13, 2026) |
| Vent sealing | $10–$22 per vent | This Old House (Mar 13, 2026) |
| Caulk and sealant | $8–$15 per tube | Polyguard (Oct 17, 2024) |
| Rigid foam board insulation | $2.50–$3.00 per sq ft | This Old House (Mar 13, 2026) |
| Sealed access door | $60–$150 | This Old House (Mar 13, 2026) |
| Dehumidifier | $300–$1,500 (unit); $800–$2,000 installed with wiring | Polyguard (Oct 17, 2024); This Old House (Mar 13, 2026) |
For a 1,000-square-foot crawl space, InsulationRValues.com (Feb 2026) estimates $500–$1,500 for a basic 20-mil ground barrier with tape. It estimates $1,500–$4,000 for barrier plus rigid foam walls, before a dehumidifier. Compare that with the $1,500 to $15,000 professional range. Most of the savings come from labor.
How long it takes depends heavily on clearance, size and how much cleanup and water work comes first. Prep and cleanup often take as long as hanging the liner. Plan for more than one session and don’t rush the seams.
Safety
Safety first: A crawl space is a tight, dark, often dirty space with limited exits. Tell someone you are going in, keep a phone and a bright light with you, and take breaks.
- Mold: Wear gloves, goggles and a properly fitted N-95 respirator (EPA). Hire a pro for large areas.
- Asbestos: Don’t cut or disturb old pipe or duct wrap you can’t identify. Have it tested.
- Electrical: Watch for damaged or loose wiring and don’t staple near cables. Have an electrician add a dedicated outlet for a dehumidifier if one isn’t there.
- Pests: Look before you reach. Spiders, rodents and snakes use crawl spaces.
- Foam and fumes: Ventilate while using spray foam and adhesives, and follow label PPE instructions.
- Combustion appliances: Don’t seal vents around gas or oil appliances that use crawl space air.
When to hire a pro
- Standing water, recurring flooding, or a need for drain tile or a sump pit.
- Mold larger than about 10 square feet, or rotted joists and sill plates.
- Foundation cracks that are wide, growing or offset. See foundation crack repair cost.
- Gas or oil appliances in the crawl space, radon concerns, or new electrical circuits.
- Very low clearance, or you want a transferable warranty.
Can I encapsulate my crawl space myself?
Yes, if the space is dry, reasonably roomy, free of large mold growth, and has no fuel-burning appliances drawing air from it. Fix water problems first, and follow your local code for vent sealing, insulation and the drying method.
What mil vapor barrier is best for crawl space encapsulation?
6 mil is the minimum in DOE guidance and code examples. For encapsulation, 10- to 20-mil reinforced liner is common because it holds up to crawling and repairs. Heavier liner costs more per square foot.
Do you need a dehumidifier after encapsulating a crawl space?
You need some moisture-removal method. Code allows a dehumidifier, a continuously running exhaust fan, or conditioned air. Many retrofits use a dehumidifier and aim for indoor-level humidity, below 60%.
Should you seal crawl space vents when encapsulating?
Yes. Encapsulation means closing the vents and drying the space mechanically. Sealing vents without a drying method, or around combustion appliances that need that air, can create new problems.
Updated October 28, 2026. Written and edited by Jordan Hale. General educational guidance; use a qualified professional for structural, electrical or mold work.